Got a Delivered Bouquet? Here Is How to Arrange It Beautifully
The bouquet arrives at your door wrapped in kraft paper, ribbons still tied, stems damp from the journey. It looks gorgeous in that moment — but the real question is what happens next. Unwrapping it and dropping everything into a tall jar is the most common move, and it is also the one that costs you three or four days of vase life and the composed, layered look that made you fall in love with the arrangement in the first place. A few deliberate steps — trimming at the right angle, grouping blooms by type, placing fillers where they actually support the focal flowers — turn a beautiful delivery into something that looks like a florist set it up in your living room. None of it requires special tools or training. It requires about fifteen minutes and knowing which step comes before which.
Start Before You Even Touch the Stems
The first thing to do when a bouquet arrives is not to unwrap it immediately. Give yourself two or three minutes to look at what you received while it is still in its wrapping. Notice which blooms are the largest and most eye-catching — these are your focal flowers, likely roses, peonies, lisianthus or large spray chrysanthemums. Notice which stems are slender and airy — these are your fillers, often gypsophila, waxflower, or eucalyptus. Understanding this before you cut anything means you will not accidentally trim a focal flower too short trying to make it fit, or bury a delicate filler stem under heavier heads.
While you are looking, prepare your vase and your water. Use a clean vase — residue from previous arrangements carries bacteria that shortens vase life dramatically. Fill it about one third full with cool water, not cold and not warm. Water between fifteen and eighteen degrees Celsius is ideal for most cut flowers. If you received a small sachet of flower food with the delivery, dissolve it in the water now, following the ratio on the packet. This simple preparation step is skipped by most people and it genuinely makes a difference of two to three days in longevity. Have a pair of sharp scissors or, better, a clean knife ready on the table before you unwrap anything.
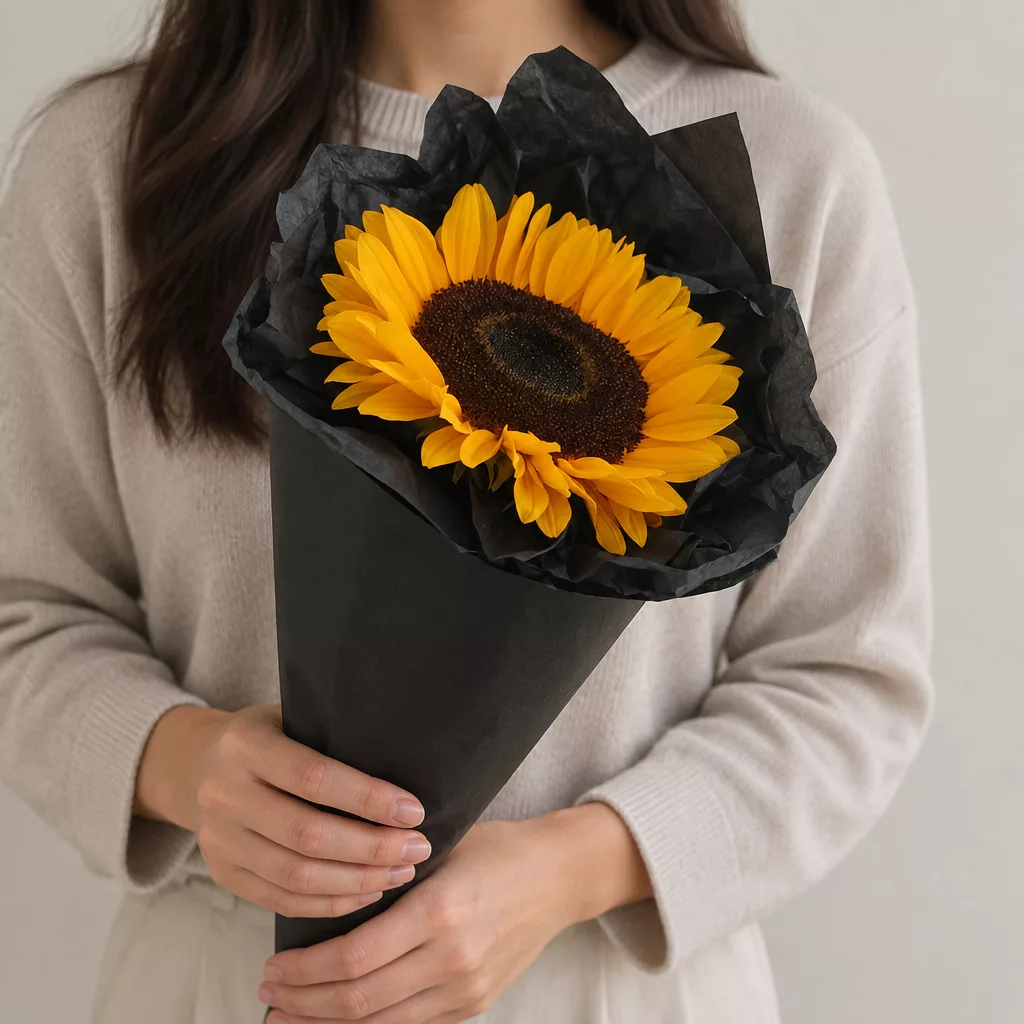
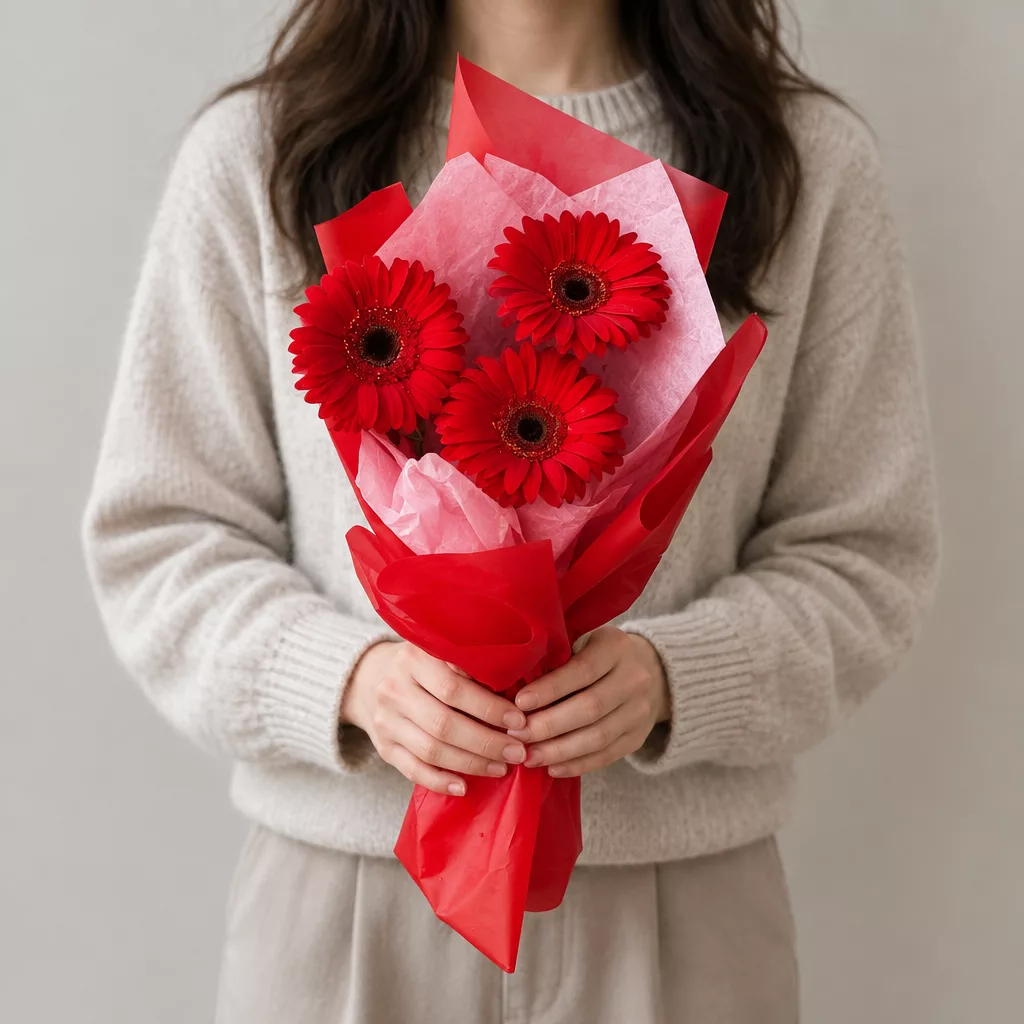
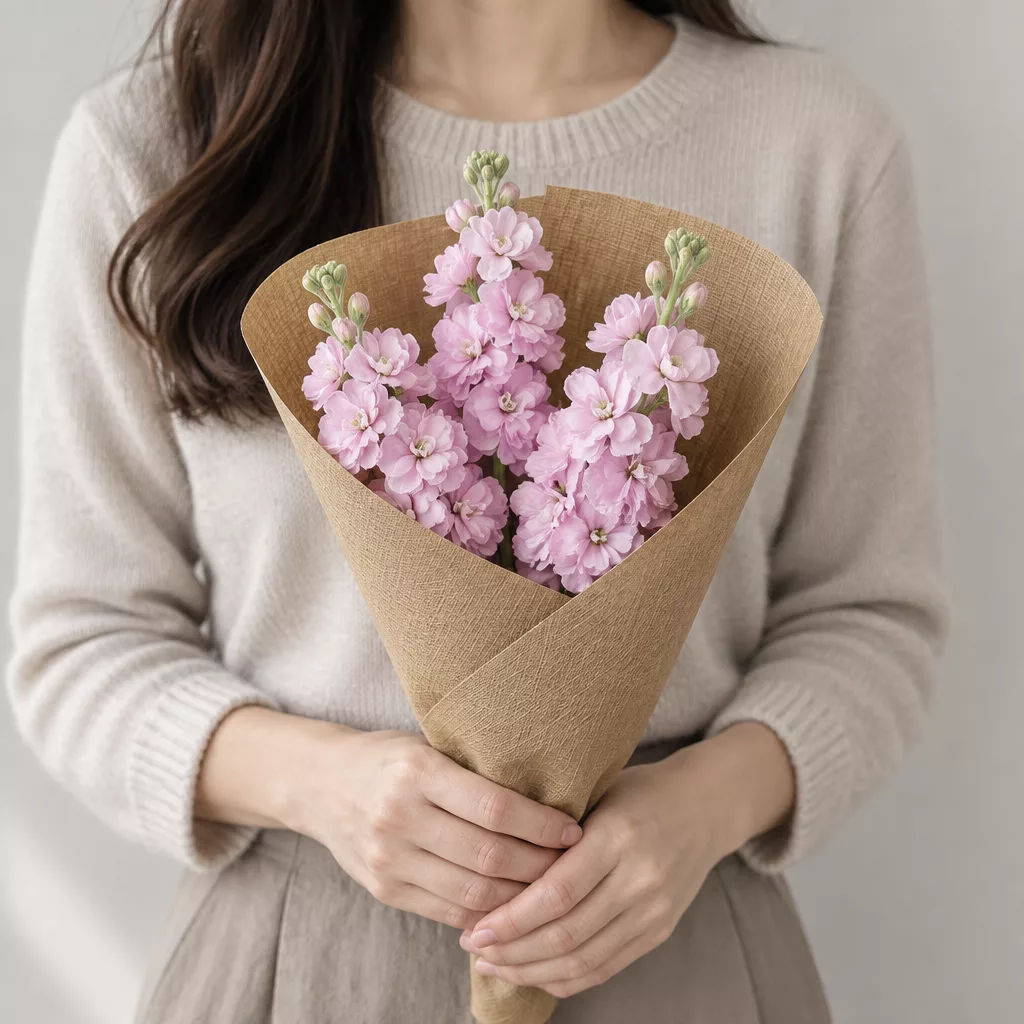
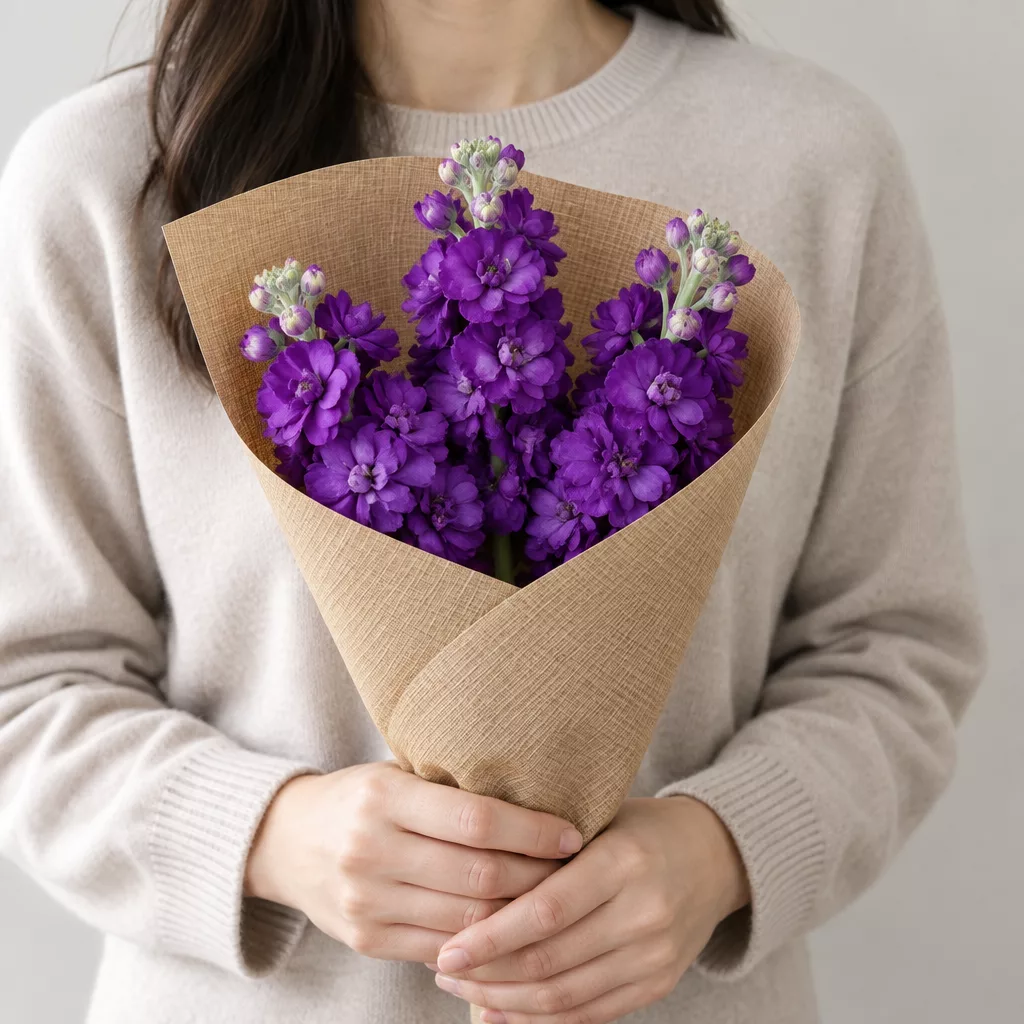
Bouquets we can deliver
Unwrapping Without Damaging What Is Inside
Florists wrap bouquets in layers for a reason: the outer kraft paper protects against temperature changes during transit, and the inner tissue or cellophane holds the arrangement shape and keeps stems together. When you unwrap carelessly — pulling at ribbons, tearing at paper from the top — you risk snapping delicate stems or dislodging flower heads that are only loosely attached to their calyx, as is often the case with tulips and ranunculus.
The right approach is to work from the bottom. Lay the bouquet gently on a flat surface. Slide off any elastic bands or rubber ties from the stem base first. Then unfold the paper outward, letting the flowers fall open naturally rather than pulling them free. If there is a water capsule or damp cotton at the stem ends, remove it carefully and keep the stems pointed downward until you are ready to cut. Holding stems upward for even thirty seconds before trimming allows air to enter the cut ends, creating an air lock that blocks water uptake later.
Once unwrapped, hold the bouquet loosely in one hand with stems down and take a moment to see how the florist originally grouped it. Most professional arrangements are built in a spiral — each stem placed at a slight angle to the one before it, creating a natural fan shape. You will see this if you look at the stem bundle from below. Try to preserve that spiral when you move stems into the vase, because it is what gives the arrangement its open, three-dimensional shape rather than a flat cluster.
Trimming Stems: the Right Cut at the Right Length
Every stem needs a fresh cut before it goes into water, even if the bouquet was assembled only an hour or two ago. Stems seal over quickly once they leave water, and a sealed end cannot drink. Cut at a forty-five degree angle rather than straight across. The angled cut increases the surface area that contacts water and prevents the stem end from sitting flat against the vase bottom, which would seal it again almost immediately.
Length is where most people make their first significant mistake. A common instinct is to cut all stems to the same length for a tidy look, but a uniform height creates a flat, one-dimensional result. Focal flowers — your roses, peonies, or garden spray roses — should sit at different heights from one another, with the tallest roughly one and a half times the height of the vase. Supporting flowers like alstroemeria or carnations can sit slightly lower. Fillers and greenery like ruscus or pittosporum should be trimmed so they nestle just below or between the focal blooms, not tower above them.
Remove any leaves that would sit below the waterline. Submerged foliage rots within a day and turns the water cloudy and bacterial. Strip leaves cleanly from the lower third of every stem. For roses specifically, also check for any guard petals — the outer petals that are sometimes bruised from transit — and gently peel them away. This reveals the cleaner inner petals and the bloom opens more evenly. Do all your cutting over a sink or a sheet of newspaper to keep the workspace clean.
Building the Arrangement Layer by Layer
Place your greenery and structural foliage into the vase first. Eucalyptus, ruscus, salal, or pittosporum create a natural framework that holds other stems in position without you needing a flower frog or tape grid. Spread the foliage stems so they lean outward slightly in all directions, creating a loose cage inside the vase. This is the step most home arrangers skip entirely, going straight for the flowers, and it is why their arrangements look flat — there is nothing to hold the blooms at angles.
Next, add your focal flowers. Place the tallest stem slightly off-center rather than dead center — a centered focal point looks stiff and formal in a way that rarely suits a home setting. Add the second and third focal stems at different heights and on different sides of the vase, turning the vase a quarter turn as you work so you are building the arrangement in the round, not just facing one direction. Every angle should look intentional.
Filler flowers like gypsophila, waxflower, or limonium go in last. Their job is to soften transitions between focal blooms and fill visual gaps without competing for attention. Push them gently into spaces where you see stems or bare vase rim showing through. Gypsophila in particular has a tendency to clump — separate the individual small branches before placing them so the cloud effect reads as airy rather than dense. Step back after every few stems and look at the whole arrangement from a normal viewing distance. Adjust stems by pulling them slightly upward or pressing them deeper rather than removing and replacing them, which disturbs the whole structure.
Placing the Vase Where It Will Actually Thrive
Where you put the finished arrangement matters as much as how you built it. Cut flowers are living things responding to their environment, and the most beautifully arranged bouquet will decline in days if placed in the wrong spot. The two biggest enemies are direct sunlight and heat sources. A windowsill that gets afternoon sun, a spot above a radiator, or a position next to a working kitchen stove will halve the vase life of almost any variety. Roses, which are among the most popular flowers in Russian gifting culture, are particularly sensitive and will open and drop petals within two days in a warm, sunny spot.
The ideal location is a cool room with indirect light and no drafts. In a Russian apartment context, this often means a hallway console table, a dining table away from the kitchen, or a bedroom surface rather than a living room windowsill. During winter months, keep flowers away from the front door area if it is exposed to cold drafts each time it opens — the temperature shock causes premature wilting in soft-petalled flowers like tulips and anemones.
If you have several rooms to choose from, pick the one that stays coolest overnight. Flowers respire more slowly at lower temperatures, which slows aging. Many professional florists store arrangements in walk-in coolers at around five degrees Celsius — you cannot replicate that at home, but even choosing a room that stays at eighteen rather than twenty-four degrees makes a meaningful difference. Move the arrangement to a cool spot at night and bring it back to the display position in the morning.
Keeping the Arrangement Looking Fresh Day After Day
The work does not stop once the vase is placed. A delivered bouquet can last anywhere from five days to two weeks depending on the varieties inside and how consistently you maintain it. The single most effective daily habit is checking and topping up the water. Flowers drink surprising amounts — a large arrangement of roses and peonies can lower the water level by several centimetres in a single day. Never let the water drop below the stem ends, as even a few hours without water contact causes the stems to seal and the arrangement to wilt.
Every two days, do a full water change rather than just topping up. Empty the vase, rinse it quickly, refill with fresh cool water and a second dose of flower food if you have it, and give every stem a fresh diagonal cut before returning it. This two-minute process removes the bacterial buildup that is the primary cause of premature decline. The water should look clear — if it turns cloudy or develops an odor, change it immediately regardless of your schedule.
As days pass, individual stems will naturally decline before others. Roses typically last longer than tulips; alstroemeria often outlasts everything else in a mixed bouquet. Remove any stem that has wilted or whose petals have dropped fully — leaving decaying material in the vase accelerates the decline of everything around it. After removing spent stems, rearrange the remaining flowers to fill any gaps. A bouquet on day seven with eight healthy stems, thoughtfully regrouped, can look more intentional than one on day three that has been left untouched as it thins out unevenly.
Reviving a Bouquet That Has Started to Droop
Sometimes flowers arrive after a long journey or sit unwrapped for too long, and by the time they reach water they are already drooping noticeably. This does not mean they are lost. Most cut flowers, roses and chrysanthemums especially, can be revived with a straightforward rehydration process if the drooping is caused by air locks in the stem rather than true cellular breakdown.
Fill a bucket or a deep bowl with cool water. Recut every stem by at least two centimetres at a sharp angle and submerge the entire stem — including the flower heads — in the water for twenty to thirty minutes. This full submersion allows the bloom to rehydrate through the petals as well as the stem. Tulips in particular respond very well to this treatment and often stand upright again within an hour. After soaking, transfer to a prepared vase with fresh water and flower food.
For roses specifically, there is a florist technique worth knowing: after recutting the stem, hold the cut end under running water for thirty seconds before placing it in the vase. This flushes any air from the stem channel immediately. Wrap drooping rose heads loosely in damp newspaper — just the heads and upper stems, not the cut ends — and stand them in a vase of water in a cool room overnight. The newspaper supports the neck of the bloom and prevents the head from bending while the stem rehydrates. By morning, most roses that seemed beyond saving will have straightened considerably. This technique is used routinely in professional florist workrooms and works just as well at home with ordinary newspaper.
Arranging a delivered bouquet yourself is not about replicating exactly what a florist does in a workroom — it is about understanding a few principles that make the difference between a bunch of flowers in a jar and an arrangement that genuinely transforms a room. Trim at an angle, build from greenery outward, vary your heights, keep the water fresh and the vase cool. The flowers you received were chosen and conditioned carefully before they left us; these steps are simply how you carry that care forward into your own home. We deliver bouquets across Russia in 1–2 hours.
Frequently asked questions
Do I need to cut stems even if the bouquet was just delivered?
Yes, always. Stems begin sealing at the cut end within minutes of being out of water, and even a short delivery creates enough of a seal to block water uptake. A fresh diagonal cut immediately before placing stems in the vase is the single most important step for extending vase life, regardless of how recently the bouquet was arranged.
Can I use any vase, or does the shape matter?
Shape matters more than most people expect. A wide-mouthed vase suits loose, garden-style arrangements with peonies or ranunculus. A taller, narrower vase supports long-stemmed roses and keeps them upright without extra support. The vase should be roughly two thirds the height of the longest stem for balanced proportion. Clean the vase thoroughly before use — bacterial residue from previous arrangements is a leading cause of early decline.
My tulips keep drooping sideways no matter what I do. Is that normal?
Tulips are phototropic — they move toward light — and they also continue growing after cutting, which causes them to lean and curve. Rotate the vase a quarter turn each day to even out the leaning. Keeping them in a cool room with diffused light rather than a single directional light source reduces the bending significantly. Recutting stems every two days also helps them stay more upright.
How do I know when a stem is done and should be removed?
Remove a stem when the petals have begun to brown at the edges and the bloom no longer holds its shape even after fresh water. A slightly open rose that is still fragrant and firm is fine to keep. A fully spent bloom that is soft, discolored, or dropping petals should come out immediately, because decaying organic matter releases ethylene gas that accelerates aging in every stem nearby.
Is flower food actually necessary, or is plain water fine?
Flower food makes a genuine difference. It contains three things plain water does not: a carbohydrate source that feeds the blooms, an acidifier that helps water travel up the stem more efficiently, and a biocide that slows bacterial growth. Plain water works, but arrangements in flower food solution consistently last two to four days longer. If you run out, a small amount of lemon juice and a pinch of sugar in clean water is a reasonable substitute.
Ready to send flowers?
Pick the city, choose the bouquet, and a local florist takes it from there.
Choose a city →